Preserve the Sweetness: A Step-by-Step Guide on How to Make Jam
Jam making is a delightful and rewarding culinary activity that allows you to preserve the sweetness of fresh fruits all year round. Whether you have an abundance of ripe berries, stone fruits, or citrus, making your own jam is a wonderful way to savor the flavors of the season long after they have passed.
Not only does homemade jam taste infinitely better than store-bought varieties, but it also gives you control over the ingredients used. You can adjust the sweetness and add your own unique flavor combinations to create jams that perfectly suit your taste buds.
In this step-by-step guide, we will walk you through the process of making jam from start to finish. From gathering the necessary ingredients and equipment to sealing jars filled with luscious fruit preserves, we will provide you with all the information you need to become a master jam maker.
So roll up your sleeves, put on your apron, and get ready to embark on a delicious journey into the world of homemade jam making. With a little time and effort, you'll be able to enjoy the sweet taste of summer all year long.
Gather the Ingredients and Equipment
To make delicious homemade jam, you will need to gather the necessary ingredients and equipment. Here's what you'll need:
Ingredients:
- Fresh fruits of your choice (such as strawberries, raspberries, or peaches)
- Granulated sugar
- Lemon juice (optional, for added acidity)
Equipment:
- Large pot or saucepan
- Wooden spoon or spatula
- Measuring cups and spoons
- Jam jars with lids
- Funnel (optional, but helpful for pouring the jam into jars)
- Ladle or spoon for filling the jars
Ensure that your fruits are ripe and free from any blemishes. It's important to use high-quality ingredients to achieve the best flavor in your jam. As for the equipment, make sure everything is clean and sterilized before starting.
Having all the ingredients and equipment ready will make the jam-making process much smoother and enjoyable. So gather them up and let's move on to preparing the fruit!
Prepare the Fruit
To make delicious homemade jam, it is important to start with fresh and ripe fruit. Begin by washing the fruit thoroughly under cold water to remove any dirt or debris. Then, peel and pit the fruit as necessary. For berries, simply remove any stems or leaves.
Next, chop or mash the fruit according to your preference. If you prefer a chunky texture in your jam, chop the fruit into small pieces. If you prefer a smoother consistency, use a blender or food processor to puree the fruit.
Once the fruit is prepared, transfer it to a large saucepan or pot. Add in any additional ingredients such as lemon juice for acidity or spices for flavor enhancement. Mix well to ensure that all flavors are evenly distributed.
At this stage, you may also choose to add pectin if desired. Pectin helps thicken the jam and achieve a gel-like consistency. Follow the instructions on the package for proper usage.
Now that your fruit is prepared and ready, it's time to move on to cooking the mixture.
Cook the Fruit and Sugar Mixture
Once you have prepared the fruit, it's time to start cooking. In a large pot, combine the fruit with the sugar over medium heat. Stir continuously until the sugar has completely dissolved and the mixture starts to simmer. Reduce the heat to low and let it cook for about 20-30 minutes, or until the fruit becomes soft and begins to break down. Keep stirring occasionally to prevent sticking or burning. The mixture will start to thicken and develop a rich, vibrant color as it cooks. This is when you know it's ready for the next step in the jam-making process: testing for gel point.
Test for Gel Point
Once the fruit and sugar mixture has been cooking for a while, it's important to test for the gel point. This is the stage at which the jam will set and become thick. To test for gel point, you can use one of two methods: the spoon test or the plate test.
For the spoon test, simply dip a cold metal spoon into the hot jam mixture and let it cool for a few seconds. Then, tilt the spoon to see if the jam runs off easily or if it forms a thick sheet that slowly drips off. If it forms a sheet, then your jam has reached gel point.
The plate test involves placing a small amount of hot jam onto a chilled plate and letting it sit for a minute. Then, push your finger through the jam – if it wrinkles and holds its shape, then it has reached gel point.
If your jam hasn't reached gel point yet, continue cooking and testing every few minutes until it does. Be careful not to overcook though, as this can result in a stiff and rubbery texture.
Once you have confirmed that your jam has reached gel point, turn off the heat and remove any foam that may have formed on top. Skim off this foam using a slotted spoon or ladle.
Now that your jam is ready to be jarred, move on to the next step: filling and sealing the jars.
Fill and Seal the Jars
Once your jam has reached the desired gel point, it's time to fill and seal the jars. Start by carefully ladling the hot jam into sterilized jars, leaving about 1/4 inch of headspace at the top. This will allow for expansion during storage. Use a clean, damp cloth to wipe any spills or drips from the rims of the jars.
Next, place a sterilized lid on each jar and screw on the bands until they are fingertip tight. Be careful not to overtighten as this can prevent proper sealing.
To ensure a good seal, process the filled jars in a boiling water bath for about 10 minutes. This will create a vacuum seal that will keep your jam fresh and safe to consume for up to a year.
After processing, carefully remove the jars from the water bath using jar tongs and place them on a towel-lined countertop. Allow them to cool undisturbed for several hours or overnight.
Once cooled, check that each jar has sealed properly by pressing down on the center of the lid. If it doesn't move or make a popping sound when pressed, it is sealed correctly. Any unsealed jars should be refrigerated and consumed within a few weeks.
Label your beautifully filled and sealed jars with the date and flavor of jam using waterproof labels or markers. Store them in a cool, dark place away from direct sunlight.
Now that you have successfully filled and sealed your homemade jam, you can proudly share it with friends and family or savor it yourself whenever you crave that burst of fruity goodness.
Store and Enjoy Your Homemade Jam
Once you have filled and sealed your jars, it's important to store them properly to ensure the longevity of your homemade jam. Store the jars in a cool, dark place, such as a pantry or cellar. Make sure they are away from direct sunlight and heat sources.
It is recommended to consume your homemade jam within one year for optimal flavor and quality. However, if stored correctly, it can last up to two years. Remember to label each jar with the date it was made so you can keep track of its freshness.
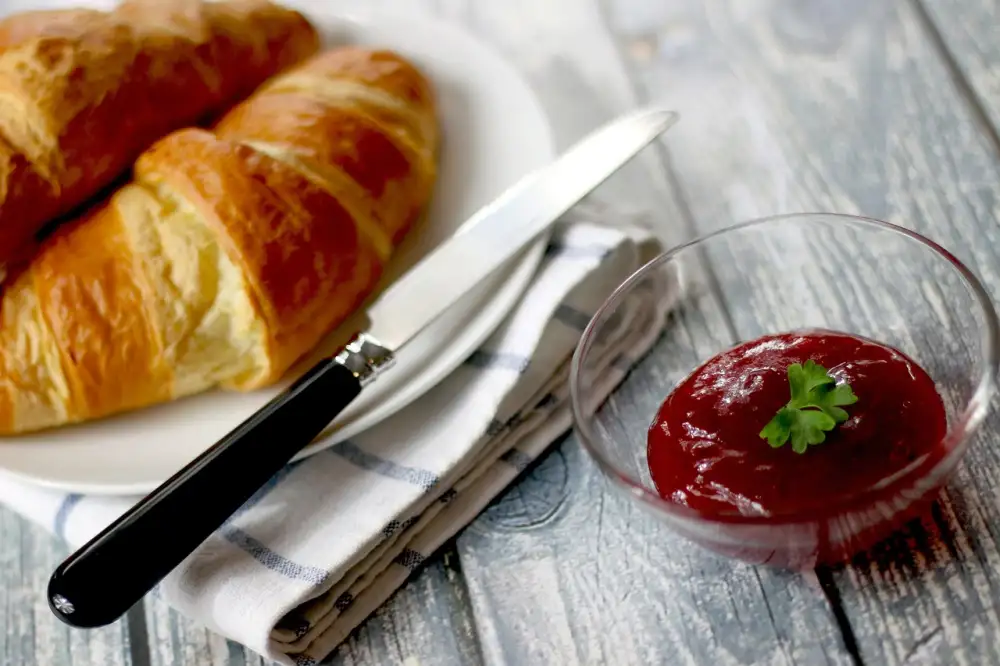
When it comes time to enjoy your homemade jam, spread it generously on toast, scones, or pancakes. It also makes a delightful addition to yogurt or oatmeal. Get creative and use it as a filling for pastries or as a topping for ice cream.
Homemade jam also makes a thoughtful gift. Consider sharing some with friends and family or even hosting a jam tasting party where everyone can sample different flavors.
By following this step-by-step guide on how to make jam, you can preserve the sweetness of fresh fruits all year round. So go ahead and embark on this delicious journey of creating your own homemade jams – the possibilities are endless!
Making your own jam is a rewarding and delicious experience. By following these simple steps, you can preserve the sweetness of your favorite fruits and enjoy homemade jam all year round. Whether you spread it on toast, use it as a filling for pastries, or gift it to friends and family, the satisfaction of creating something so delightful from scratch is unmatched. So go ahead, gather your ingredients and equipment, prepare the fruit, cook the mixture, test for gel point, fill and seal the jars, and store your homemade jam with care. Indulge in the flavors of summer even during the coldest winter months with your very own jar of homemade goodness. Happy jam making!
Published: 08. 12. 2023
Category: Food